
You Can Pickle That!

You have vegetables. You have vinegar. You have jars. What happens next?
Obviously, you pickle that.
Pickling is a deliciously practical way to preserve the local bounty and an excellent excuse to put just about anything in a jar. This week, we’re celebrating the pickle in all its briny glory, with recipes for vegetables, watermelon rind, eggs, and beets.
Because if it can fit in a jar, well… you can probably pickle that.
Pickled Veggies
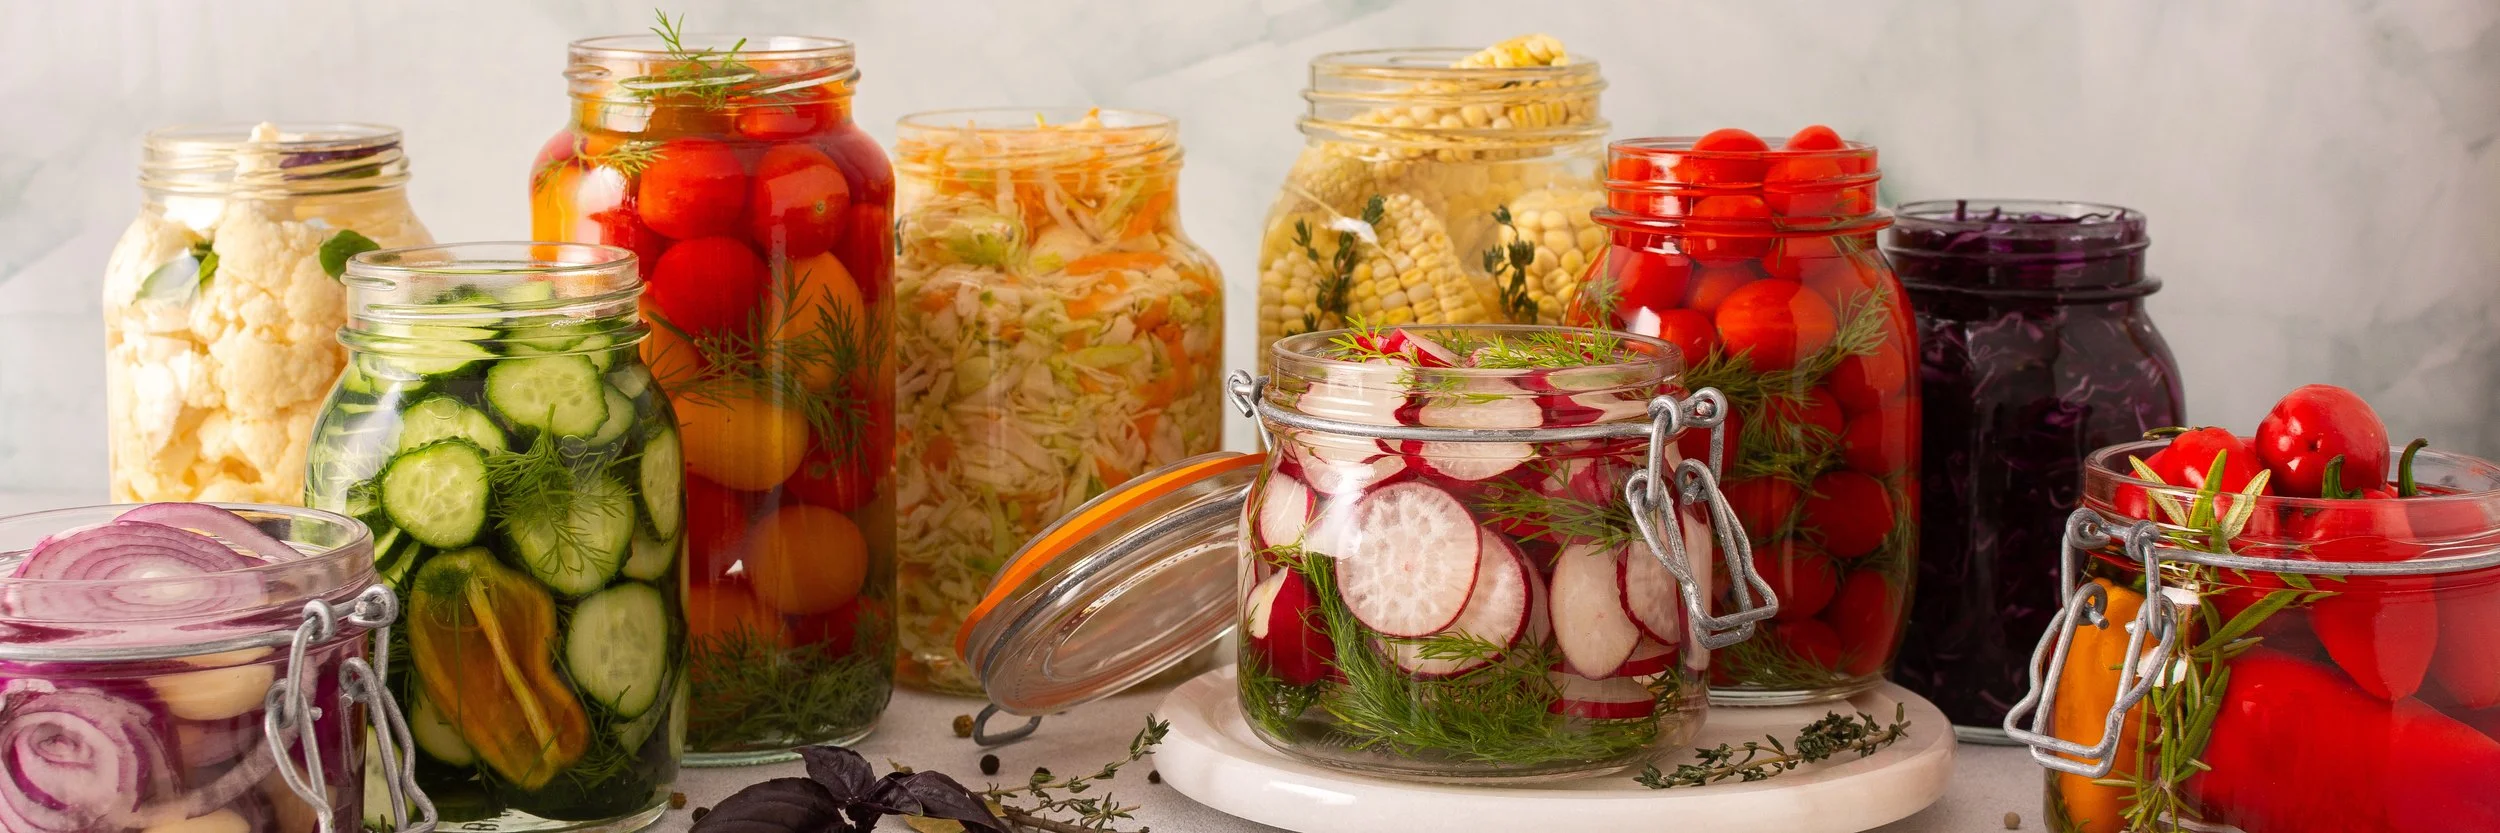
INGREDIENTS:
Vegetables: 3 to 4 cups of fresh veggies, washed and chopped into spears, coins, or florets (e.g., cucumbers, carrots, cauliflower, red onion, green beans, or radishes)
Brine (cooking variety):
1 cup vinegar (use white distilled for classic tang, or apple cider for a mellower flavor)
1 cup water
1 Tbsp sea salt
1–2 Tbsp sugar (optional, to balance the acidity)
Flavorings (Optional but recommended):
2-4 peeled garlic cloves
a few sprigs of fresh dill
1 tsp of pickling spice, mustard seeds, or black peppercorns
DIRECTIONS:
Prep the jars: Place your garlic, herbs, and spices at the bottom of clean, heat-safe glass jars.
Pack the vegetables: Arrange your cut vegetables tightly into the jars, leaving about a half-inch of space at the top.
Make the brine: In a small saucepan, combine the vinegar, water, salt, and sugar. Bring to a simmer over medium-high heat, stirring until the salt and sugar dissolve completely.
For a quick no cooking brine see the note at the bottom!
Pour and cool: Carefully pour the hot brine over your vegetables until they are completely submerged, leaving a half inch of headspace. Tap the jars gently to release any trapped air bubbles.
Refrigerate: Let the jars cool to room temperature, then secure the lids and place them in the refrigerator.
Your pickles will taste crisp and bright after 24 hours, but the flavor will continue to develop and improve over 2 to 3 days. Because these are quick pickles and not canned for shelf storage, they must be kept in the fridge. They will stay fresh and crunchy for up to 3 months.
NOTE:
For quick NO COOK brine follow this…
Pack your jar full of your spices, herbs and then veggies.
Then add your liquid to the jar filling with, ½ water, ½ vinegar, 1 tsp kosher salt, 1 tsp sugar (optional but does help with the flavor). Put the lid on and shake really well. Refrigerate! Wait at least 3 days before eating for the flavor to really set.
Pickled Eggs
INGREDIENTS:
12 large eggs (hard boiled and peeled)
2 cups vinegar (white vinegar for a clear, classic look, or apple cider vinegar for a slightly sweeter taste)
1 cup water
1 tbsp kosher salt
2 tbsp pickling spice (or a mix of mustard seeds, bay leaves, peppercorns, cloves, and allspice) – you can also get creative with add things like turmeric (which will help die the eggs a yellow color), curry, cumin seed, oregano and the ever favorite dill.
Flavor add-ins (optional): 1-2 smashed garlic cloves, 1/2 sliced red onion, or sliced jalapeños
1-quart glass mason jar with a tight-fitting lid
DIRECTIONS:
Make the brine: In a medium saucepan, combine the vinegar, water, salt, and pickling spices. Bring to a boil, then reduce the heat and let it simmer for 5 minutes so the salt dissolves completely.
Layer your aromatics (garlic, onion, jalapeño) in the bottom of your clean mason jar. Pack the peeled eggs tightly into the jar, being careful not to crack the whites.
Combine & store: Carefully pour the hot brine over the eggs until they are completely submerged. Let the jar cool at room temperature for about an hour, then tightly seal the lid and place it in the refrigerator.
Then you have to wait…While you can eat them after 24 hours, pickled eggs are best after letting them sit in the brine for 3 to 5 days. The longer they sit, the more flavorful and firm they become!
Food Safety: Pickled eggs are not intended for pantry storage. They must be kept in the refrigerator at all times and consumed within 3 months.
Beet-Pickled Variation: For striking, bright fuchsia eggs, swap the water for beet juice (or toss in a few cooked beets/canned beet slices) into your brine.
Pickled Watermelon Rind
INGREDIENTS
4 cups cider vinegar
1 1/2 cups sugar
1 ounce candied ginger
1 tablespoon kosher salt or sea salt
5 cloves
2 allspice berries
1 cinnamon stick
1 (1-inch) strip lemon rind
2 pounds trimmed watermelon rind, cut into 1.5-inch chunks (see note below)
NOTE:
A large 13-pound watermelon will yield roughly 4 to 5 pounds of fully trimmed rind. Larger or smaller watermelons and watermelon varieties with a thinner or thicker rind will yield less or more. This recipe is scaled to 2 pounds of fully trimmed rind, but can be halved or doubled as need.
To trim watermelon rind, carefully cut off almost all but the faintest traces of the red flesh. Then cut off the dark outer skin. The remaining white rind with a green-to-pinkish tinge in spots is now ready for pickling.
DIRECTIONS:
In a 3-quart saucepan, combine cider vinegar, sugar, candied ginger, salt, cloves, allspice berries, cinnamon stick, and lemon rind. Set over medium-high heat, bring to a boil, and cook for 15 minutes.
Add watermelon rind, return to a boil, and cook until rind looks slightly translucent, about 40 minutes.
Transfer pickled rind and spices to mason jars (of any size you prefer), packing to fill well, then pour brine on top to fully cover rind. Seal jars, let cool to room temperature, then refrigerate. Watermelon rind pickles can be kept refrigerated for up to 1 month. (2-3 weeks)
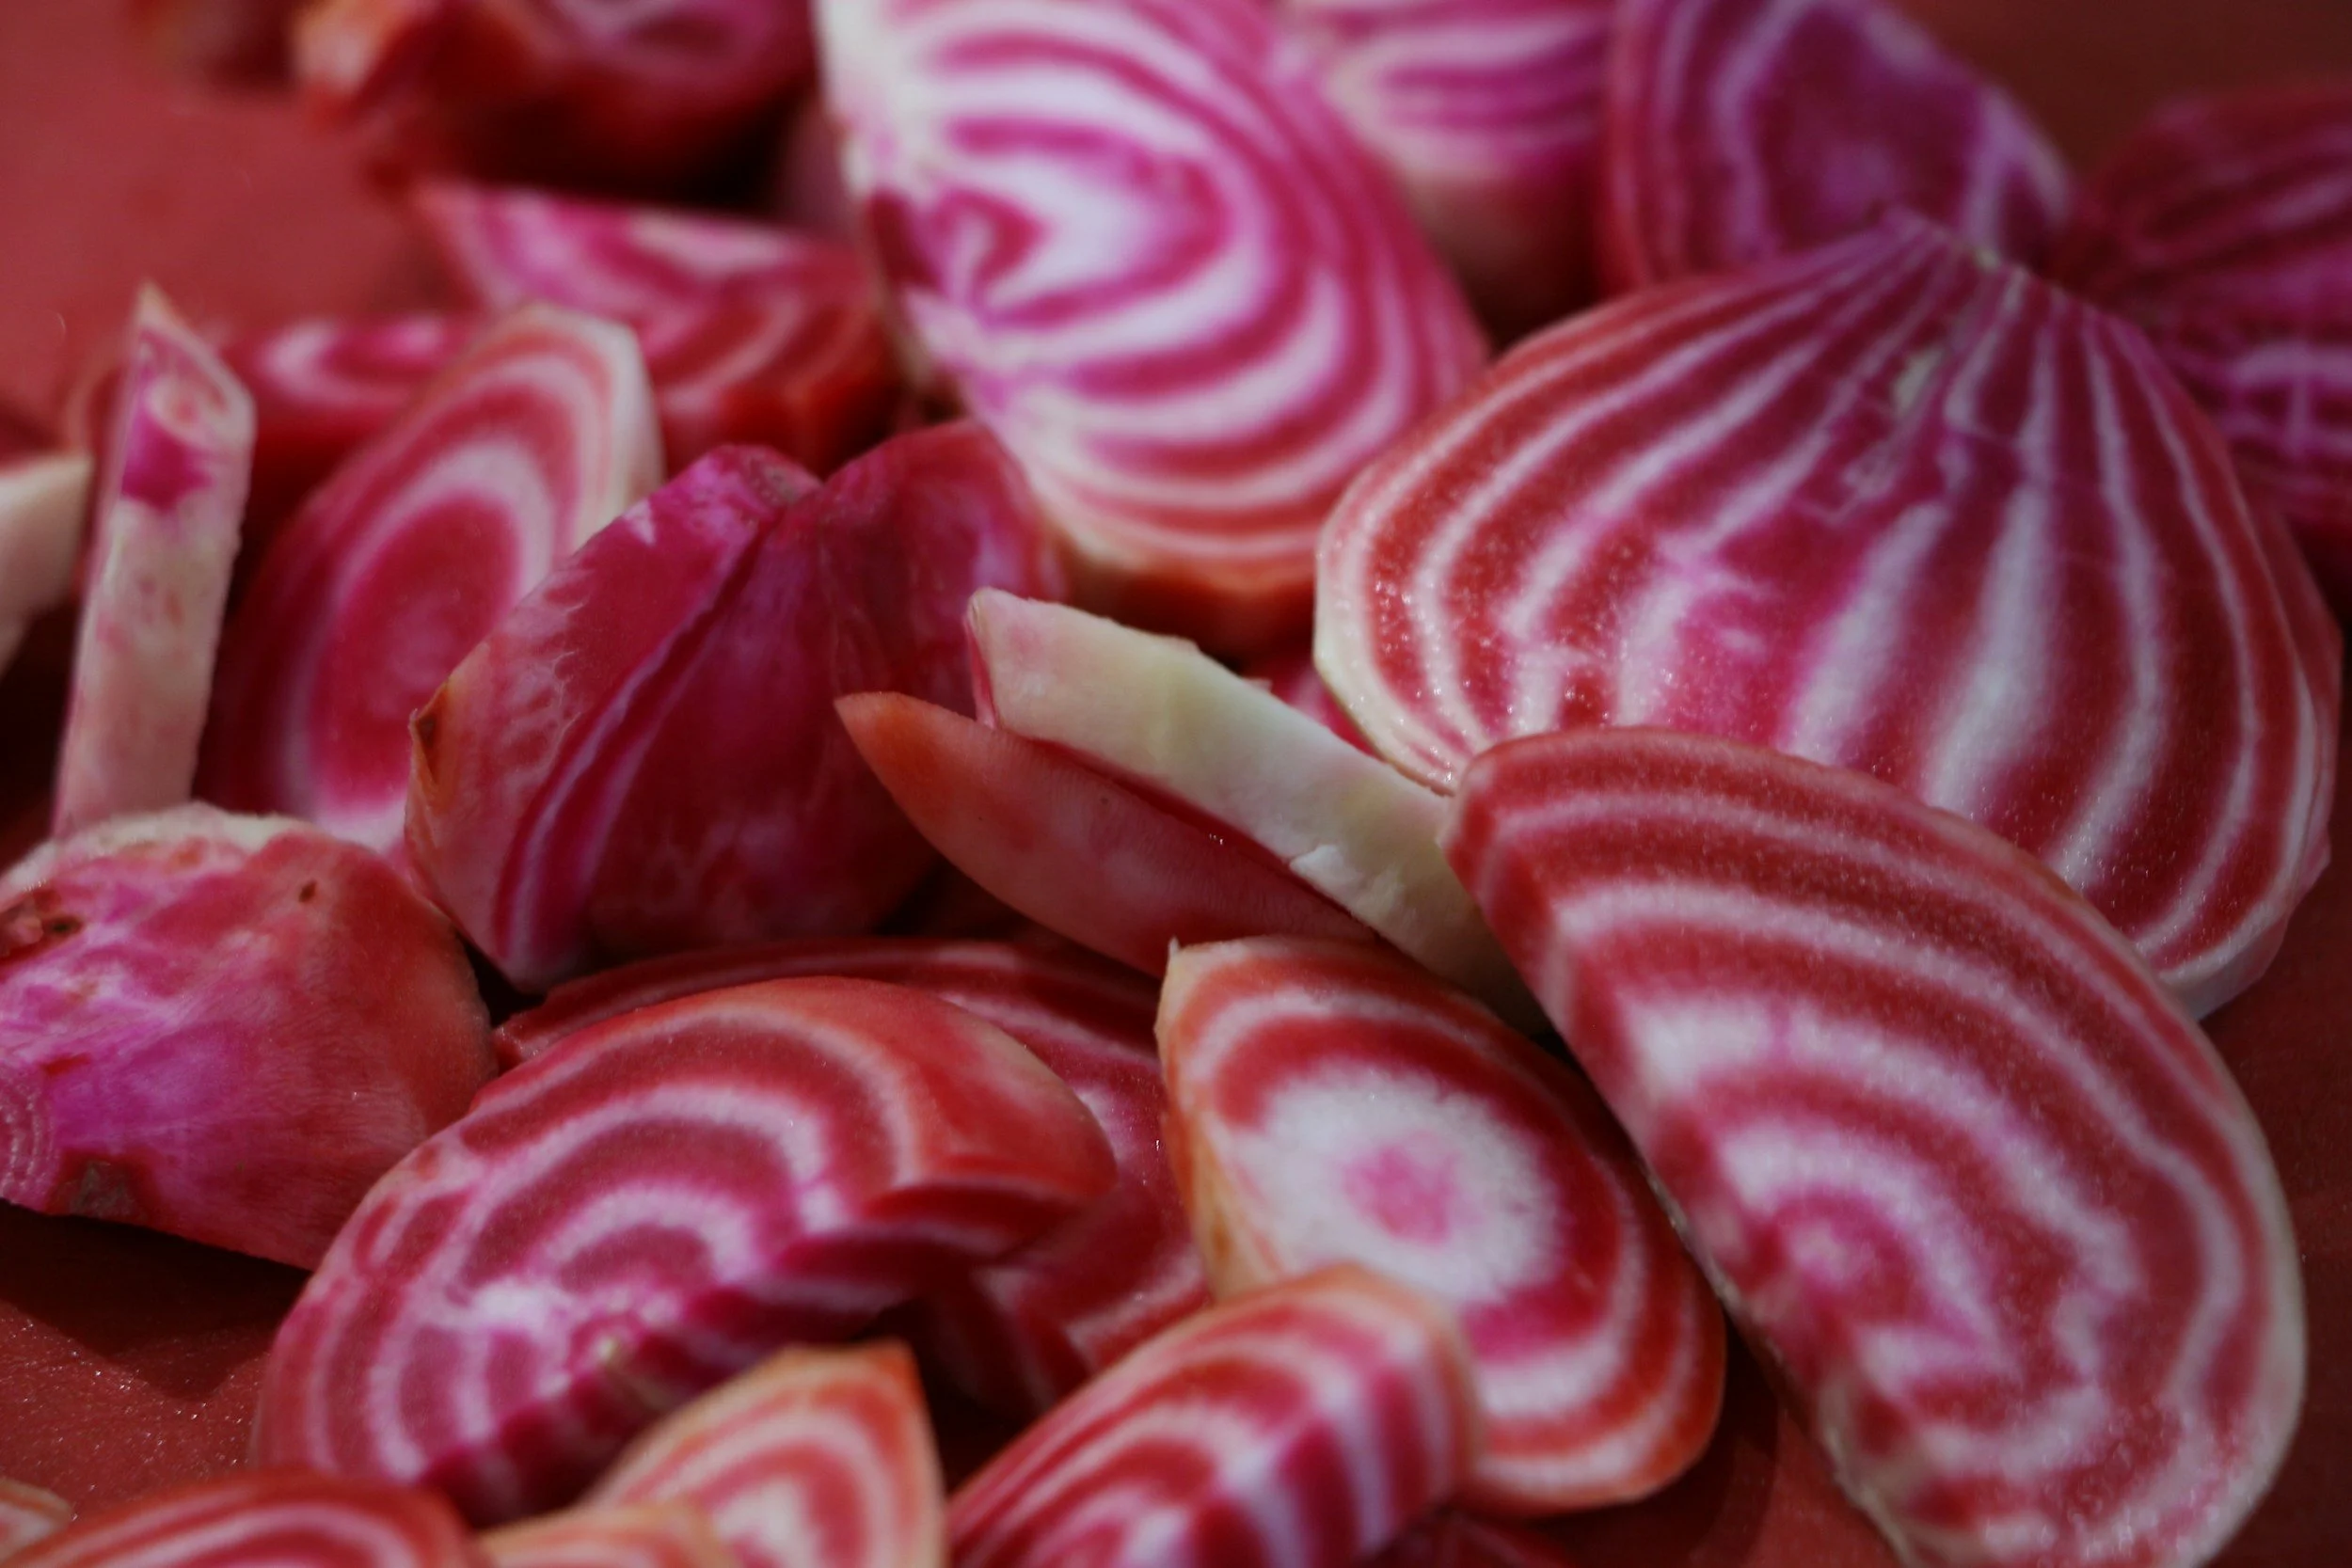
Quick Pickled Beets – 2 ways
Pickled Beets with Onions
INGREDIENTS:
5 medium beets
1 cup apple cider vinegar
1 cup water
1/3 cup honey (or sugar)
·2 tsp sea salt
1 cup onions, sliced thin
Pickled Beets with Jalapeno and Garlic
INGREDIENTS:
5 medium beets
1 cup apple cider vinegar
1 cup water
1/3 cup honey (or sugar)
2 tsp sea salt
1 jalapeno, sliced thin (or use ½ for less spice)
3 cloves garlic, sliced thin
DIRECTIONS
Clean beets. Leave whole with skin on. (Save the greens and add them to a soup or saute.)
Place beets in a pot of water. Bring to a boil. Reduce to a simmer and cook until fork tender. Cook time will depend on the size of the beets. Smaller beets will take about 20 minutes and larger beets can take up to 45 minutes.
Once beets are fork tender, remove them from the pot and place in a bowl of cold water. Allow to sit for a minute or two.
Drain beets and peel off skin (it will rub right off). Also remove any stems that you left on.
Thinly slice beets (if you have a mandolin, use the 3/16 setting), if not, then just cut as close to ¼ in as possible and place in a bowl.
If you are making the onion version, add those to the bowl with the sliced beets. If you are making the jalapeno and garlic version, add those to the bowl with the sliced beets. Mix well and place in a 1-liter glass jar.
Combine apple cider vinegar, water, honey, and sea salt in a medium saucepan. Bring to a boil, reduce to a simmer, and cook for 3 minutes.
Pour liquid over the beet mixture. Allow to cool for 15 minutes. Cover and refrigerate overnight.
Enjoy the next day or refrigerate for up to 3 weeks.